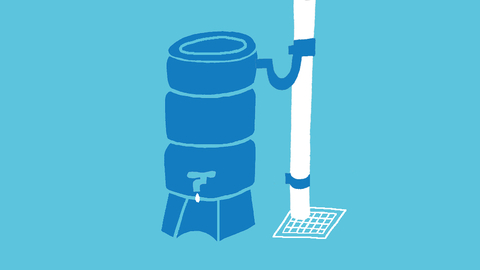
How to install a water butt
Rainwater is better for plants than chemically treated household water, plus you'll be helping to conserve our vital water.
You will need:
- Hacksaw
- Measuring tape
- Drill
- Pen or pencil
- Screwdriver
- Spirit level
Step 1
Find a solid, flat surface near a gutter downpipe. Use a spirit level to check. You will need a stand or some bricks to sit your water butt on so that it's elevated to allow watering can to fit underneath the tap.
Step 2
Option one - next to the downpipe:
Cut the downpipe and place the water butt directly beneath it. Follow the instructions on the diverter kit. Mark the height of the water butt on the downpipe. You will want to cut the pipe around 3cm from this point using a hacksaw. Attach the rainwater diverter fitting to the cut section of the downpipe.
Option two - in another location:
Cut a notch out of the downpipe and use a diverter to carry the water from the pipe to the water butt - allowing you to place the butt where you wish.
Step 3
Place the lid on top. This ensures no small animals can fall in and will keep insects out. Now wait for the rain to come!

Tom Marshall


